
#P6 Kick Start - Unity [Moving the player]

1. Create project folder


2. Name the folder as scripts

3. Create new component, new script, name it as PlayerController, the script name must be started using Capital letter. Drag the script to "scripts" folder.


*change the language to c#


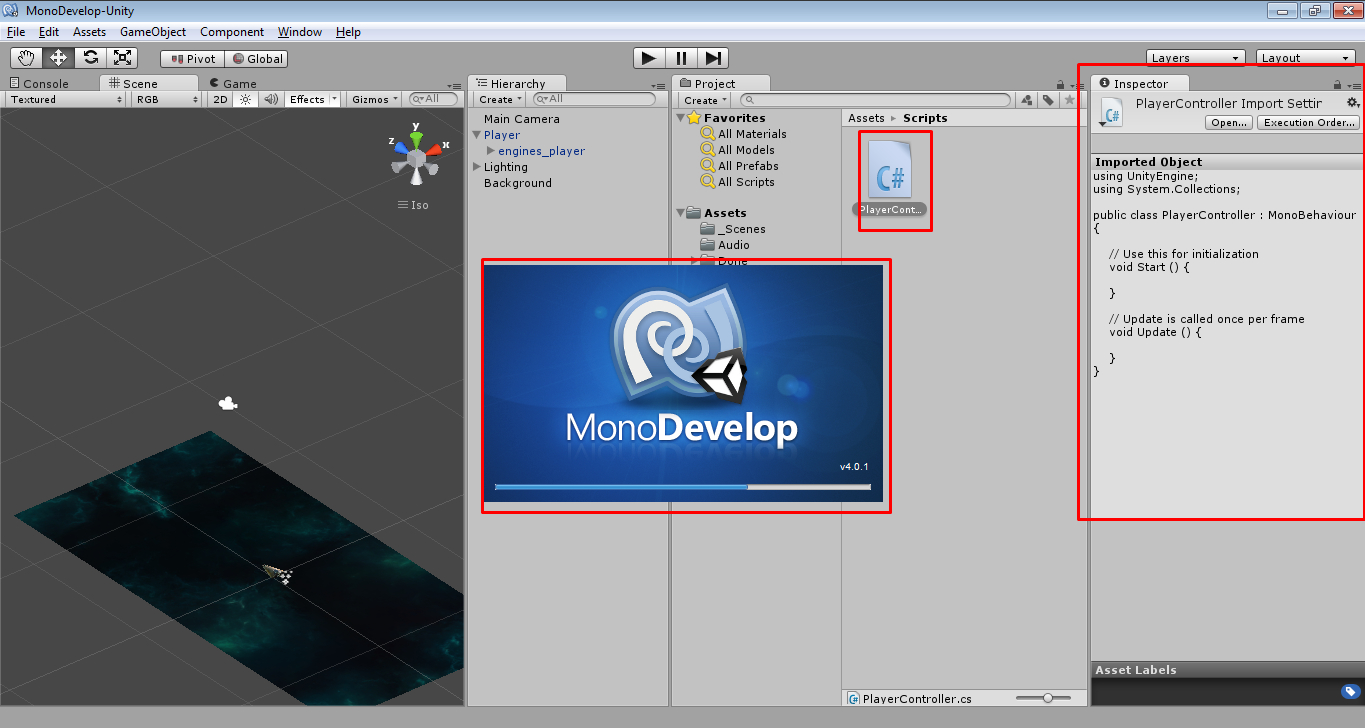
4. Lets start scripting! double click the PlayerController script, it ll lead us to MonoDevelop-unity, scripting editor that bundled with unity software.


using UnityEngine;
using System.Collections;

public class PlayerController : MonoBehaviour {

 void FixedUpdate () {
  float moveHorizontal = Input.GetAxis("Horizontal");
  float moveVertical = Input.GetAxis("Vertical");

  //how much we want our object to move on the y-axis? nono
  //set to o.of
  float y_axis = 0.0f;
  //store the vector object in moving variable;
  Vector3 movement = new Vector3 (moveHorizontal, y_axis, moveVertical);
  rigidbody.velocity = movement;
 }
}


*ensure the method called FixedUpdate spelled correctly.

tips : highlight library then press ctrl + ' in windows to trigger the help doc

5. as we can see the first scripting lead us to allow game player object to move on x and z axis. but it turns out to be in slow speed. now the new script below, allow us to multiply the speed and also let us to set the boundary limit to where our game player object can move.


using UnityEngine;
using System.Collections;

using UnityEngine;
using System.Collections;

//ensure that our new class is serialized so that we can see it in out unity player object properties
//another class created and serialized so that our player script properties is more neat
[System.Serializable]
public class Boundaries  {
 public float xMin, xMax, zMin, zMax;
}
//in c#  : means the player controller class is inheriting from MonoBehavior class
public class PlayerController : MonoBehaviour {

 //create public variable/field called speed
 public float speed;
 public Boundaries boundary;
 
 void FixedUpdate () {

  float moveHorizontal = Input.GetAxis("Horizontal");
  float moveVertical = Input.GetAxis("Vertical");

  //how much we want our object to move on the y-axis? nono
  //set to o.of
  float y_axis = 0.0f;

 
  //store the vector object in moving variable;
  Vector3 movement = new Vector3 (moveHorizontal, y_axis, moveVertical);
  rigidbody.velocity = movement * speed;

  //now we realised that our player object can move in out from the game screen play.
  //we will put limition on our player object
  //we are aware that our player object cant move up or down the y-axis as we assign it always to 
  //0.0f
  rigidbody.position = new Vector3 
   (
    Mathf.Clamp (rigidbody.position.x, boundary.xMin, boundary.xMax),
    y_axis,
    Mathf.Clamp (rigidbody.position.z, boundary.zMin, boundary.zMax)
   );
 }
}


ctrl + '  shortcut keys to unity help doc


This is another tutorial continuation from previous tutorial in this kick start - space shooter project.
reason im posting here just to share with you guys, and capture it as note for myself

Tutorials :


Comments

Popular posts from this blog

C# Serialization Tutorial Part 1 : Serialize object in file stream

Hello Peeps. Came across this topic while doing our game saving data feature. this post only cover basic serialization. basically serialization help us to convert our object into stream of bytes so that our object can be stored or transmit over in memory/file/database. before we can proceed with the serialization tutorial, we need to set the user permission to our target folder path. 1. Set the folder path to be accessible and can be override. This step is to avoid our program/apps from throwing unauthorizedaccessexception.    - for my scenario, im choosing the path of D:\SelfLearning\c#\Serialization to store my data file. Right click the target folder, select on Security tab Select on Users and give full control or modify permission to the user. 2. Now we are going to write our code. First we need to setup our folder path. 3. We going to create our file.  In this tutorial we are using FileStream type, other then FileStream, we can make use of MemoryStream i

Tutorial on Min3D framework using Android Studio

Salam peeps, UPDATES***, the model on the old link is no longer working. so i have create a github repo, where i put the source code in a project, you guys can try to clone in and run on your android studio device emulator or directly on your phone, Ive replaced the model with a cube. https://github.com/aliaramli/Min3DTutorial Previously i ve posted tutorial on min3D using eclipse IDE, i believe most of us has moved to Android Studio IDE in developing android apps? As previous tutorial shows a lot of support from readers and among hot post in my blog, i ve decided to post the same tutorial but this time using Android Studio. For those who are familiar with Eclipse/Android Studio migration they might not have problem in running this tutorial . For more detail explanation on min3D please visit this website page Ok lets get started. Step One Create a new android project in android studio. you may name it as what you like, below are how i defined my project settings.

Tutorial on min3d framework

Salam all. This time I want to share a bit, how I tried out the mid3d framework for the first time. Acknowledge that I am new to android development.   I just follow the tutorial on Mat-d website but there are certain things that I don’t understand how they actually work. Thus I want to share what I did step by step to make this example work. For explanations on coding/steps or errors please visit Mat-d website here J you ll understand more …. mat-d original tutorial load a 3d obl model with min3d for android Step one . Download min3d into your eclipse . Select File>Import>SVN>Checkout projects from SVN Next. Choose radio button : Create a new repository location Next. Enter the svn location http://min3d.googlecode.com/svn/trunk the thing that we want to check out from the svn is the min3d framework code. Step two. Download obj file  www.3dvia.com …you need to register first..it has free acc version.. and download the followin