
#P3 Kick Start - Unity [Player Settings]

Hi peeps, lets continue from our #P2 tutorial, now we are going to import the player object and set setting unto it.


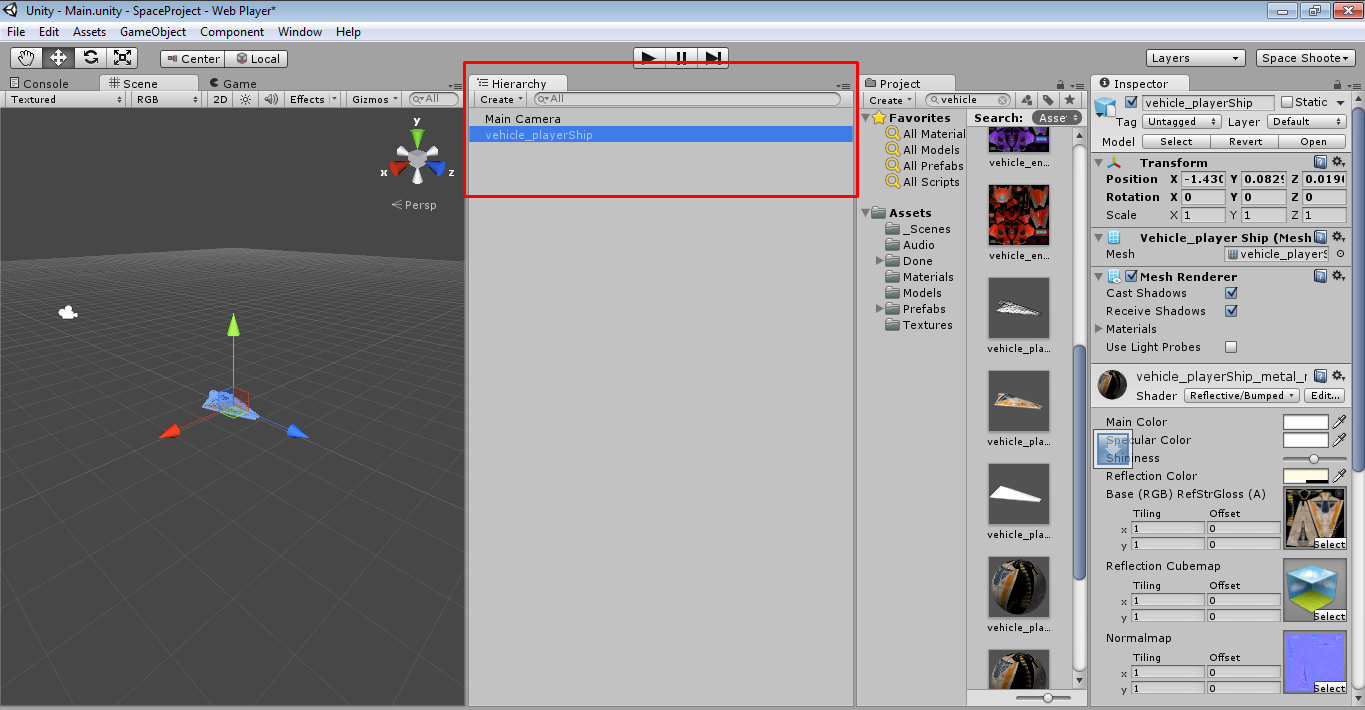
1) Drag our ship object (vehicle_playerShip) into the hierarchy tab/ directly unto scene view

2) Inside the hierarchy tab select the vehicle object

and go to the "Edit" menu and select reframe selected or F key. after that in hierarchy tab
right click the vehicle and rename to player

Now we can view the object at better distant.
3) Go to the inspector tab, and under Transform option, click on the setting icon and select
reset. Reset function will put the object at o, o, o orientation. origin (X,Y,Z axis)

4)In order to calculate the collision between the player ship and other component we need to add
rigid body component to the player ship. select add component>physic>rigid body


5) Not only that we also need to know the volume or space used by the player object in order to calculate the collision, thus we add another component physic>capsule collider

6) Let us change the direction of the Capsule collider. from Y axis to Z axis, as 
space ship longest at Z axis.


7) We can adjust the radius and height setting of the capsule collider to fit our player ship.
Make the radius smaller accordingly and height higher accordingly.


8) Having capsule collider is not only the option, we can have box, sphere as well. but now we want to try mesh collider. Add new component physic>mesh collider. remove the previous capsule collider be clicking right click and select remove component.


change the mesh to player_ship_collider


checked the Be trigger checkbox.


9) Now we want to add some effect to our player ship. Open the assests>vfx>Engines and select the engine_player, drag it to the player in the hierarchy tab.


10) We can see the smoke particles at the ship tail. Select edit menu, and reframe to view as below


Ok great! we have done our third tutorial.! to be continued.

Comments

Popular posts from this blog

C# Serialization Tutorial Part 1 : Serialize object in file stream

Hello Peeps. Came across this topic while doing our game saving data feature. this post only cover basic serialization. basically serialization help us to convert our object into stream of bytes so that our object can be stored or transmit over in memory/file/database. before we can proceed with the serialization tutorial, we need to set the user permission to our target folder path. 1. Set the folder path to be accessible and can be override. This step is to avoid our program/apps from throwing unauthorizedaccessexception.    - for my scenario, im choosing the path of D:\SelfLearning\c#\Serialization to store my data file. Right click the target folder, select on Security tab Select on Users and give full control or modify permission to the user. 2. Now we are going to write our code. First we need to setup our folder path. 3. We going to create our file.  In this tutorial we are using FileStream type, other then FileStream, we can make use of MemoryStream i

Tutorial on Min3D framework using Android Studio

Salam peeps, UPDATES***, the model on the old link is no longer working. so i have create a github repo, where i put the source code in a project, you guys can try to clone in and run on your android studio device emulator or directly on your phone, Ive replaced the model with a cube. https://github.com/aliaramli/Min3DTutorial Previously i ve posted tutorial on min3D using eclipse IDE, i believe most of us has moved to Android Studio IDE in developing android apps? As previous tutorial shows a lot of support from readers and among hot post in my blog, i ve decided to post the same tutorial but this time using Android Studio. For those who are familiar with Eclipse/Android Studio migration they might not have problem in running this tutorial . For more detail explanation on min3D please visit this website page Ok lets get started. Step One Create a new android project in android studio. you may name it as what you like, below are how i defined my project settings.

Tutorial on min3d framework

Salam all. This time I want to share a bit, how I tried out the mid3d framework for the first time. Acknowledge that I am new to android development.   I just follow the tutorial on Mat-d website but there are certain things that I don’t understand how they actually work. Thus I want to share what I did step by step to make this example work. For explanations on coding/steps or errors please visit Mat-d website here J you ll understand more …. mat-d original tutorial load a 3d obl model with min3d for android Step one . Download min3d into your eclipse . Select File>Import>SVN>Checkout projects from SVN Next. Choose radio button : Create a new repository location Next. Enter the svn location http://min3d.googlecode.com/svn/trunk the thing that we want to check out from the svn is the min3d framework code. Step two. Download obj file  www.3dvia.com …you need to register first..it has free acc version.. and download the followin